DIY Plinko: Crafting Your Own Board at Home

Create your own Plinko board for exciting game nights with friends using readily available materials. This step-by-step guide will walk you through the process of crafting a fun and engaging board game that's perfect for gatherings.
Materials Needed:
- Large wooden board (4' x 2' recommended)
- Wooden dowels (1/2 inch diameter)
- Wood glue
- Drill with 1/2 inch drill bit
- Sandpaper
- Paint or wood stain
- Plastic discs or bottle caps
Step 1: Prepare the Board
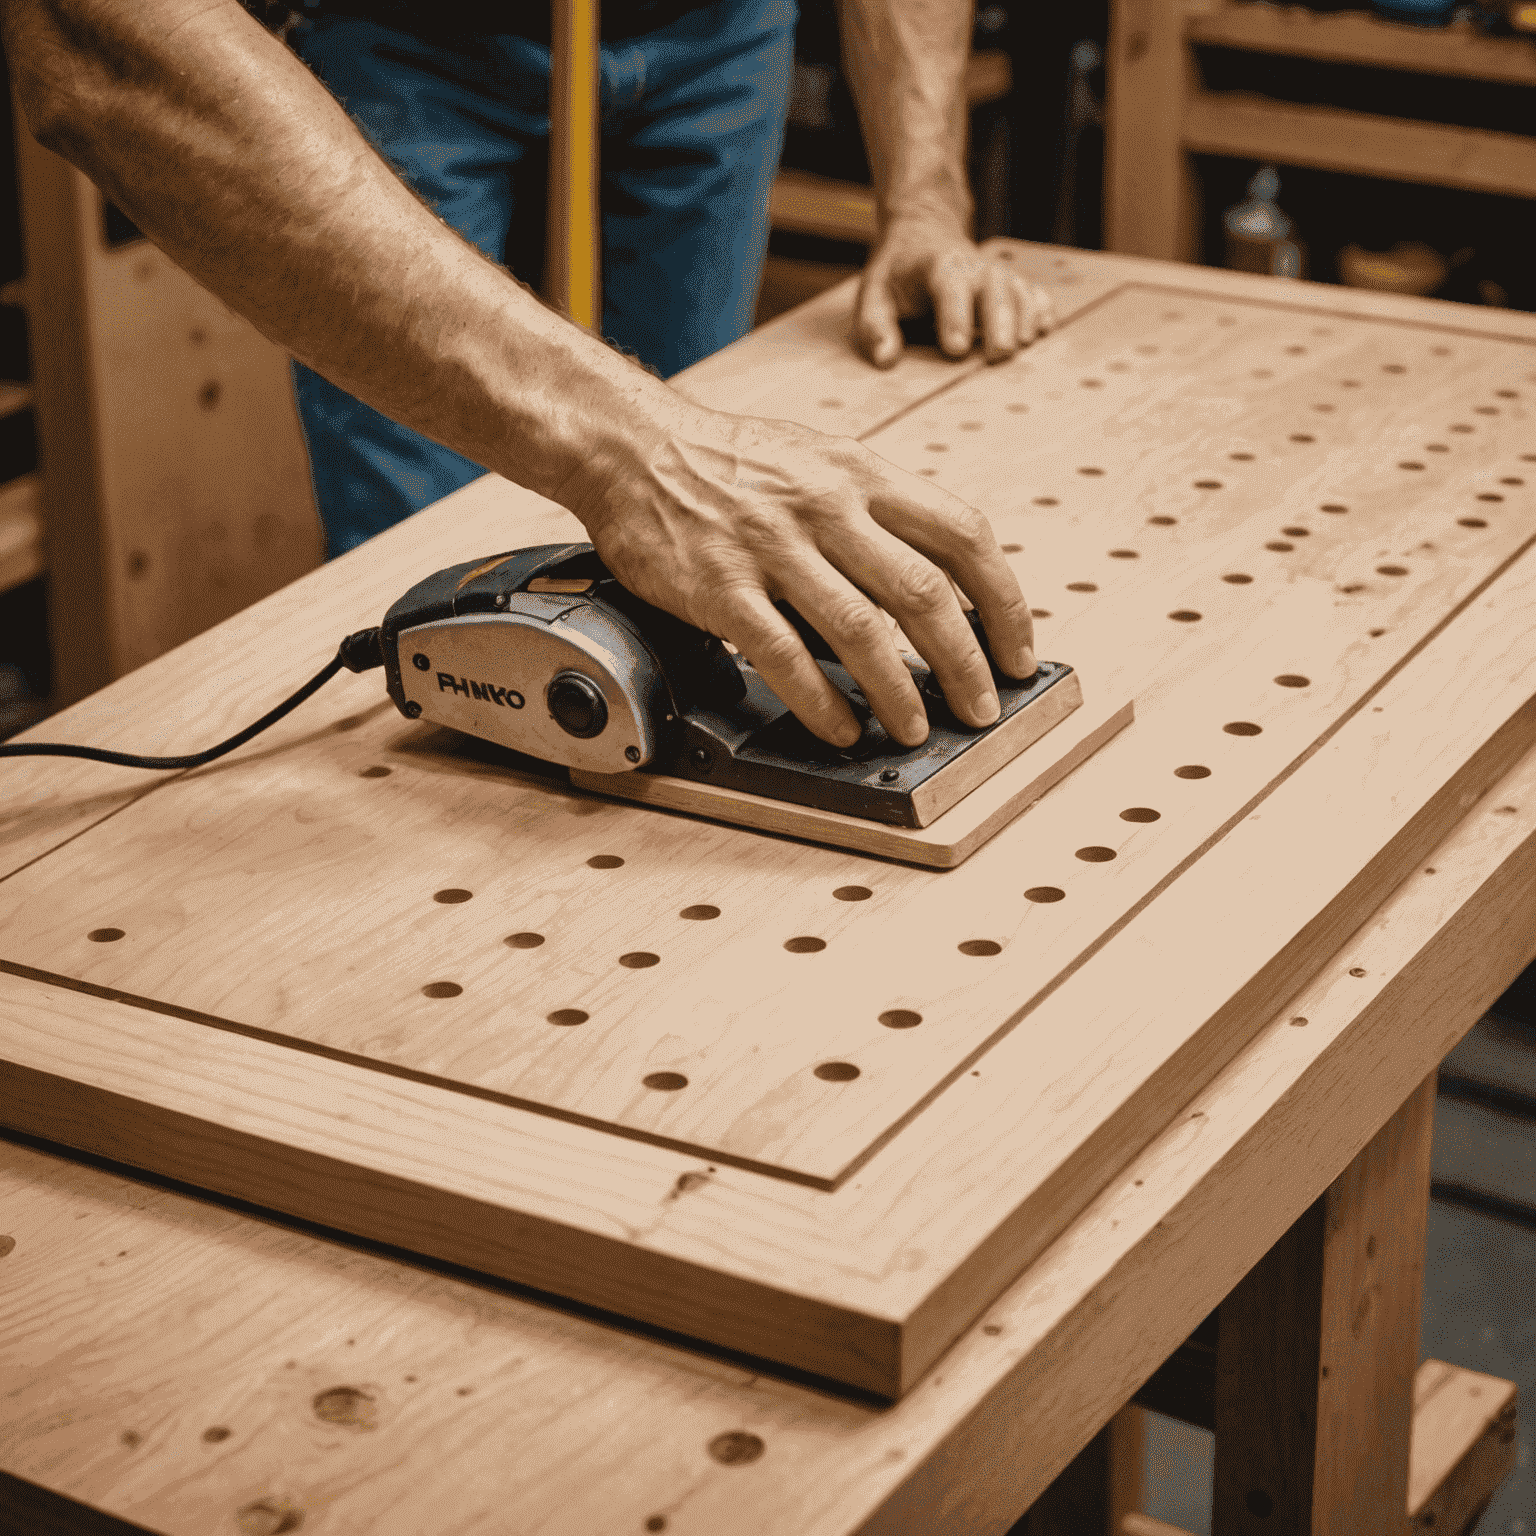
Start by sanding your wooden board to ensure a smooth surface. Once sanded, you can paint or stain the board to your desired color. Allow it to dry completely before moving on to the next step.

Step 2: Mark and Drill Peg Holes
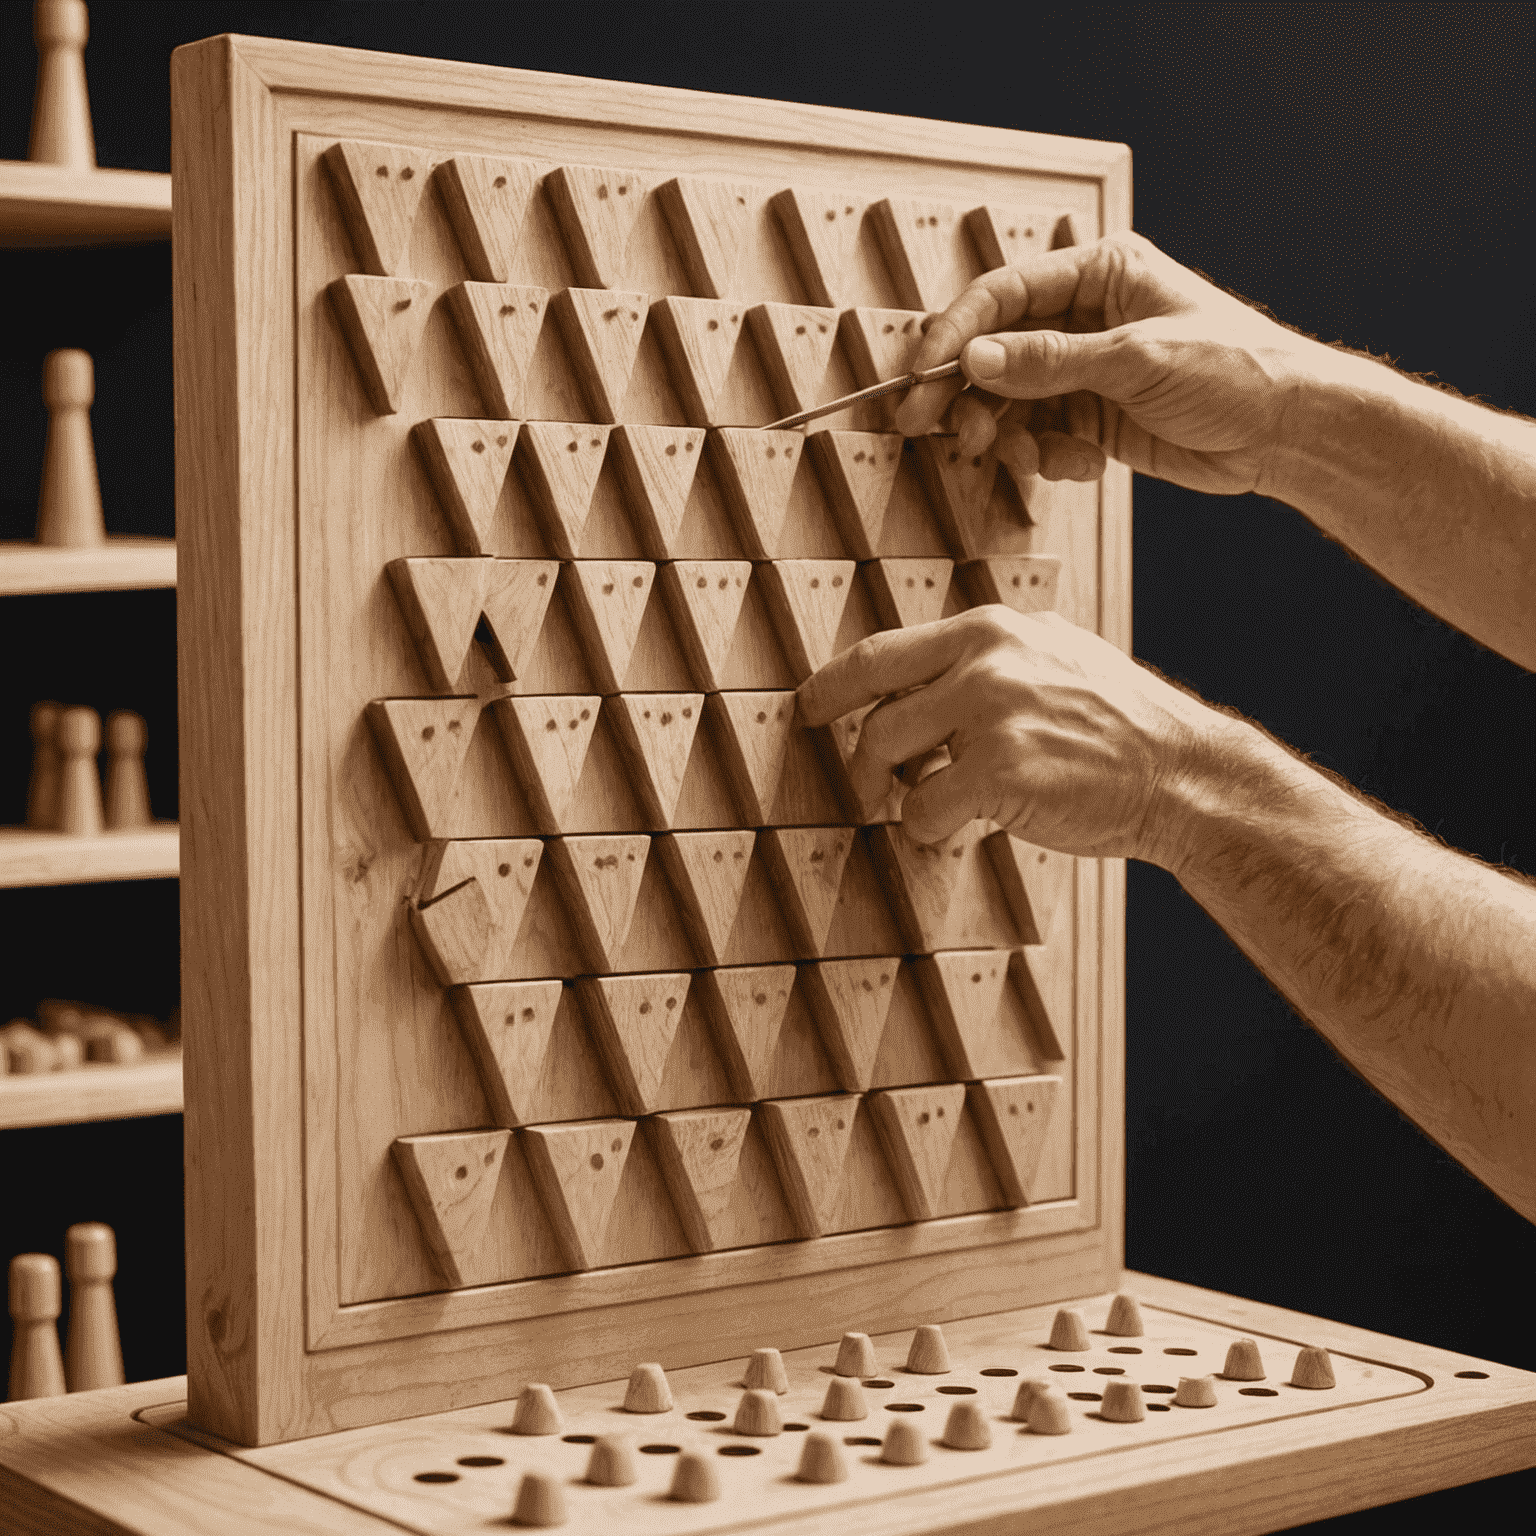
Measure and mark where you want your pegs to go. Typically, Plinko boards have a triangular pattern of pegs. Use a pencil to mark the spots, ensuring they're evenly spaced. Then, carefully drill holes at each marked spot using your 1/2 inch drill bit.
Step 3: Insert the Pegs
Cut your wooden dowels into 2-inch lengths. Apply wood glue to one end of each peg and insert them into the drilled holes. Make sure they're secure and straight. Allow the glue to dry completely.

Step 4: Create Scoring Zones
At the bottom of your board, create scoring zones by adding small dividers. You can use thin strips of wood or even folded cardboard. Glue these in place to form pockets where the discs will land.
Step 5: Make Your Game Pieces
For game pieces, you can use plastic discs or even large bottle caps. Ensure they're the right size to fall between the pegs without getting stuck.
Step 6: Add Finishing Touches
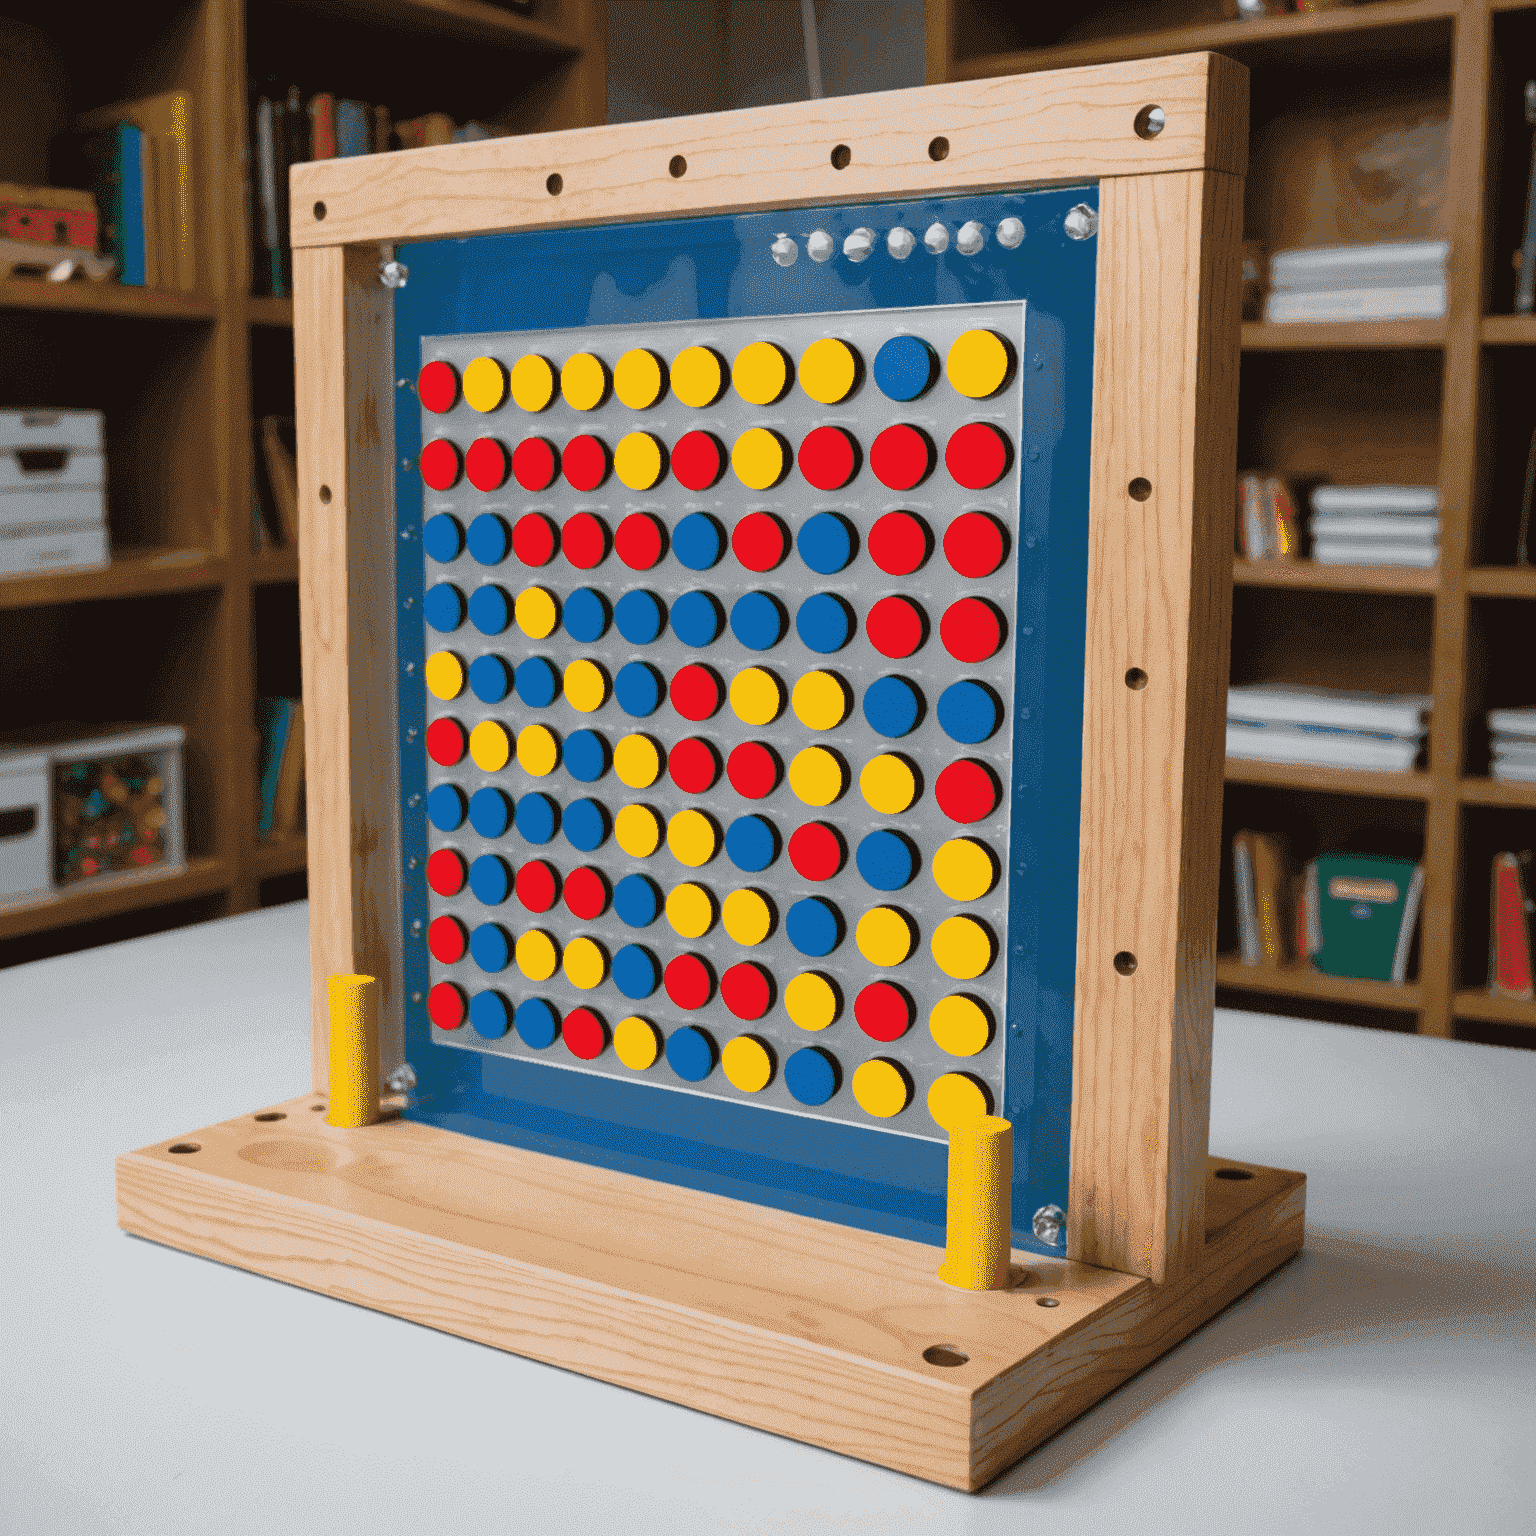
Paint numbers or point values in each scoring zone at the bottom of the board. You can also add a clear acrylic sheet over the front of the board to keep the discs from falling out.

Ready to Play!
Your DIY Plinko board is now ready for action! Gather your friends, drop the discs from the top, and watch as they bounce their way down to the scoring zones. This homemade version of the classic game is sure to provide hours of entertainment at your next game night.
Remember, the joy of board games like Plinko lies not just in playing, but also in the shared experience of creating and customizing your own game. Enjoy the process and the fun nights ahead with your very own DIY Plinko board!